
Executive Summary
Every lead that waits until morning for a reply is a lead a competitor reaches first. GoHighLevel automation setup fixes that in four moves: pick one trigger, add actions in the order a person would do them, split the path with an If/Else condition, and test the flow on a fake contact before it touches a real lead. Build one workflow, prove it works, then reuse the pattern for every form and calendar you run.
- Workflows are visual – start from a trigger and add actions like steps on a path.
- Triggers matter most – form submission, appointment booked, tag added, or manual start.
- Conditions split paths – send one message to hot leads and a different one to cold leads.
- Test before going live – GoHighLevel lets you simulate a run without spending real contacts.
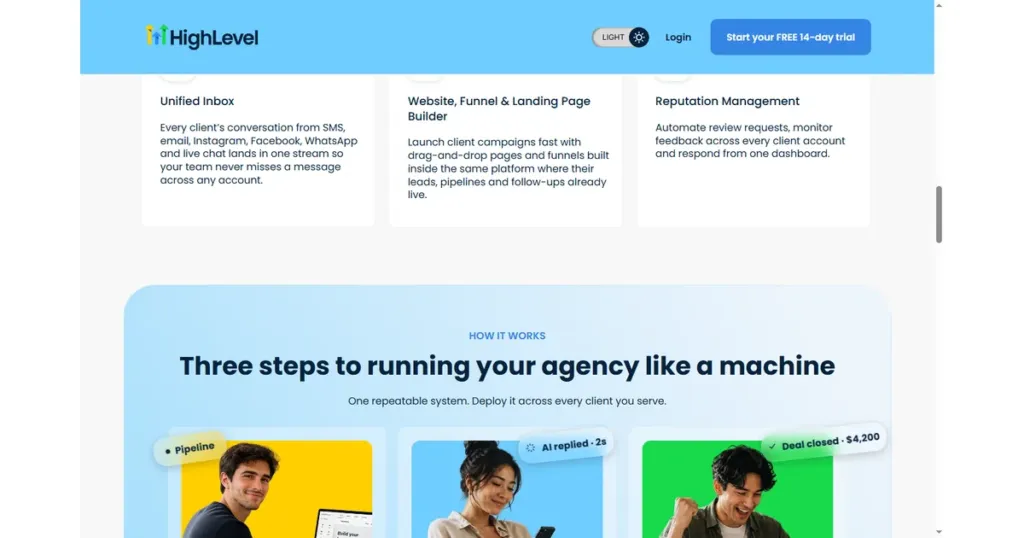
Every automation strategy starts with the same foundation: a CRM where contacts, tags, and pipeline stages are clean. GoHighLevel stores all of it in one place, so your workflow can read the context of each contact – plans, history, and even custom fields.
Table of Contents
- Why Automation Is the Core of GoHighLevel
- Build the Lead-Response Workflow Step by Step
- Two Scenarios Where the Workflow Does the Work
- Step 1: Choose the Right Trigger
- Step 2: Add Actions in the Right Order
- Step 3: Use Conditions to Split Paths
- Step 4: Build Email and SMS Steps
- Step 5: Add AI and Smart Steps
- Step 6: Test Your Workflow
- Step 7: Connect Integrations
- Start from a Template (Faster)
- GoHighLevel Pricing (2026)
- Common Setup Mistakes to Avoid
- FAQ
Why Automation Is the Core of GoHighLevel
GoHighLevel started as a marketing automation platform and grew into a full CRM. The automation engine – Workflows – is the layer that connects every other feature: funnels, calendars, pipelines, email, and SMS. For agencies and operators, this is the difference between managing clients manually and running a repeatable delivery machine.
A typical setup handles the entire customer journey: a new lead submits a form, gets an instant text, receives a calendar invite, and after the appointment a review request goes out automatically. Remove the manual steps and your response time drops from hours to seconds.
Build the Lead-Response Workflow Step by Step
Here is the exact build for a home-services form called “Free Quote Request” and a calendar called “On-Site Estimate.”
- Trigger: Form Submitted, set to the “Free Quote Request” form only. This fires the moment a homeowner hits submit.
- Action: Send SMS with the wording ‘Hi {{contact.first_name}}, this is Dana from Ridgeline Exteriors. Got your quote request for {{contact.property_address}} – what day this week works for a 20-minute walkthrough?’
- Action: Send Email with subject ‘Your estimate request is in’ and a button linking to the “On-Site Estimate” calendar.
- Wait: fixed delay of 15 minutes, long enough for the SMS to land but short enough to stay top of mind.
- If/Else: check whether the contact has the tag “Replied.” If yes, go to step 6. If no, go to step 7.
- Action (yes branch): Internal Notification to the owner with the text ‘New reply from {{contact.first_name}} – call now’ and Add Task due in 10 minutes. Then Goal Event ends the run.
- Action (no branch): Send SMS with ‘Quick nudge, {{contact.first_name}} – I have two estimate slots left this week. Text me a day and it is yours.’
- Wait: 1 day, then If/Else on Appointment Status. If booked, Remove from Workflow. If not booked, Add Contact Tag “Nurture-7Day” and Add to Workflow “Long-Term Nurture.”
- Action: Create/Update Opportunity in pipeline stage “New Lead” so the deal shows on the board the moment the form fires.
Measure three numbers weekly: reply rate on the first SMS, booking rate from the calendar link, and the portion of leads that land on the nurture tag. If replies are high but bookings are low, the calendar link or the offer wording is the problem, not the trigger.
Two Scenarios Where the Workflow Does the Work
Imagine a two-person pressure-washing crew in Tempe, Arizona. They run Facebook ads, get about 60 form fills a month, and answer them between jobs. Roughly 25 of those leads go cold before anyone calls. They build one workflow on Form Submitted: instant SMS, wait 10 minutes, then a call task for the owner. If 40 percent of the cold leads now reply, that is 10 extra conversations a month. Close 2 at $180 per job and the workflow pays for itself many times over. Treat this as a hypothetical sketch, not a record of outcomes.
Imagine a solo bookkeeper in Columbus, Ohio, with 35 clients on monthly retainers. She spends Sunday nights sending review requests by hand. She builds a workflow on Payment Received that waits two days, then sends a review link by SMS. If 8 of 35 clients leave a review in the first quarter, her profile gets steady fresh proof without a single manual send. The arithmetic is simple: 35 payments a month, one automated message each, zero hours of her Sunday.
Step 1: Choose the Right Trigger
Open Automation → Workflows and click New Workflow. The first decision is the trigger – the event that starts the automation. The most reliable triggers for service businesses are:
- Form submitted – fires when a lead completes any of your funnel forms.
- Appointment booked – starts a booking confirmation and reminder sequence.
- Tag added – useful when you import leads or manually qualify them.
- Contact created – catches every new contact regardless of source.
- Pipeline stage changed – moves a deal through your sales process.
- Manual/Instant – run a one-time action on selected contacts.
If you are not sure which trigger to use, default to form submitted. It is the easiest to track and the most common entry point for new clients.
Step 2: Add Actions in the Right Order
After the trigger, add actions – the steps the workflow performs. The order matters because later steps can use data generated by earlier ones. A simple welcome sequence looks like this:
- Send a personal email or SMS with a link to book a call.
- Wait 1 day, then send a reminder with a case study.
- Wait 2 more days, then add a tag like Lead-Snoozed if no reply.
- Send a final text with a one-time offer or alternative booking window.
Keep the first step instant. Response time is the single biggest factor in converting inbound leads, so never put a delay before the first touch.
Step 3: Use Conditions to Split Paths
Conditions act like if-then rules inside a workflow. GoHighLevel lets you branch based on tags, custom fields, pipeline stage, or even whether a contact clicked a link. For example:
- If contact replied – route to your sales team and stop the sequence.
- If stage = Qualified – send pricing; otherwise send education content.
- If no reply after 3 steps – move contact to a re-engagement campaign.
Conditions are what keep automation personal. Without them, every contact gets the same message and your follow-up feels robotic.
Step 4: Build Email and SMS Steps
GoHighLevel includes native email and two-way SMS, so you do not need Mailchimp or Twilio in the early stages. In the workflow builder, add an Email step and choose a template or write your own with the visual editor. For SMS, keep messages short and include an action link – booking page, review page, or a payment link.
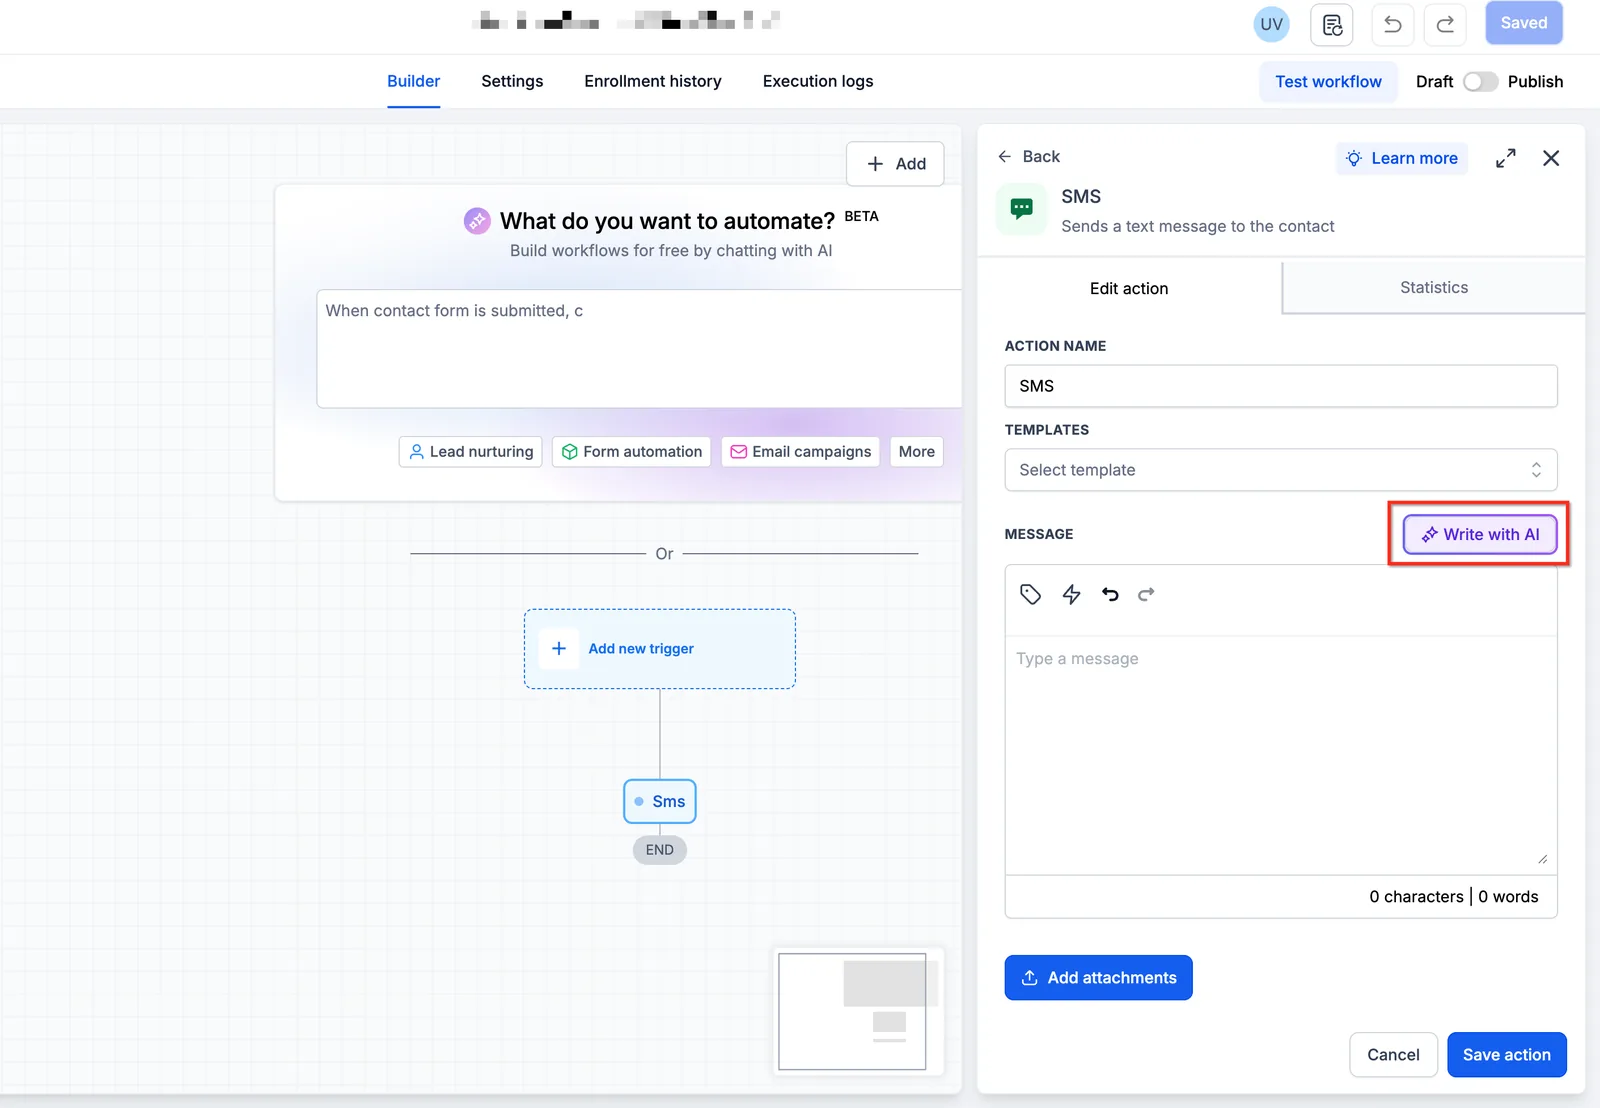
Email is best for longer content like estimates and newsletters; SMS is best for time-sensitive reminders. Combine both in one workflow to cover every channel your customers actually check.
Step 5: Add AI and Smart Steps
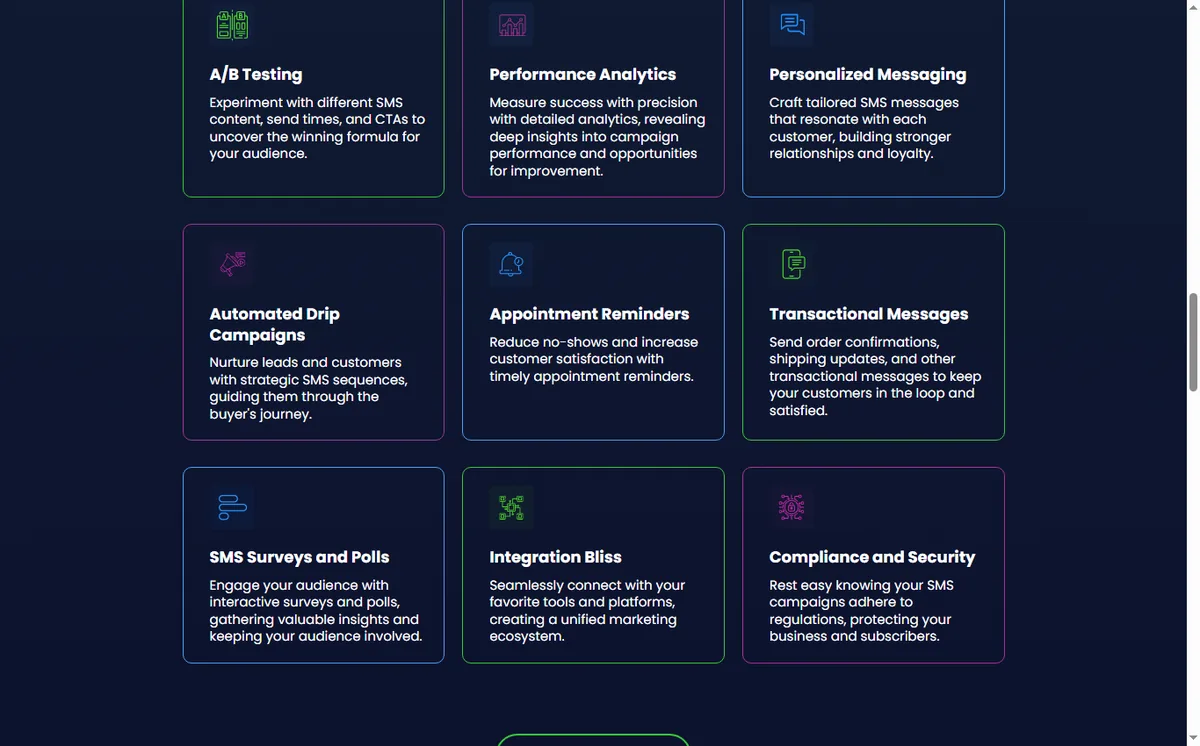
Newer GoHighLevel plans include AI features you can drop into workflows: AI chat agents that qualify leads, AI replies that draft messages, and smart object steps that look up CRM data. These steps speed up setup because the AI handles the variability that used to require multiple branches.
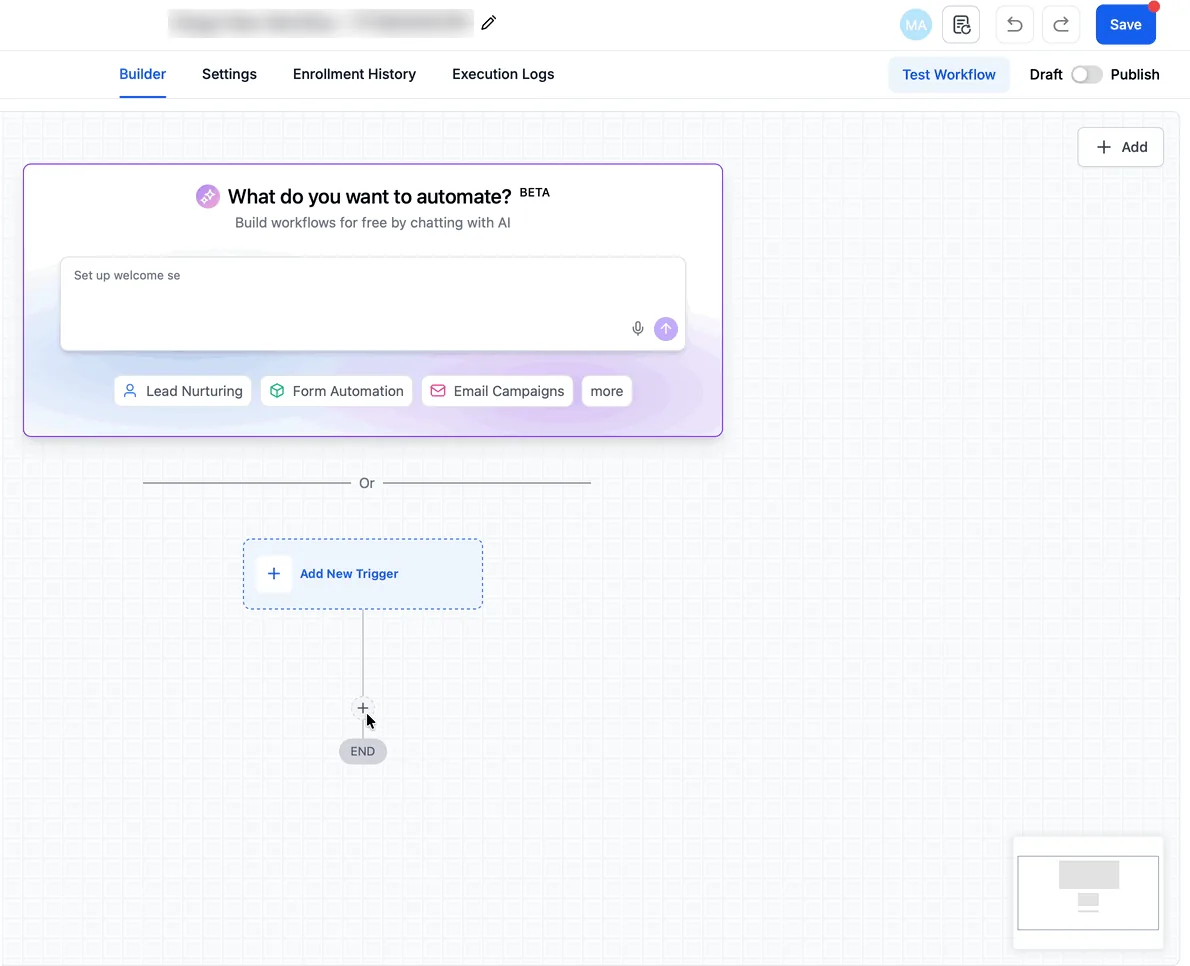
Start small: use AI for first-line replies and lead qualification, keep the rest of the workflow deterministic. You can always add more AI later once the core path is stable.
Step 6: Test Your Workflow
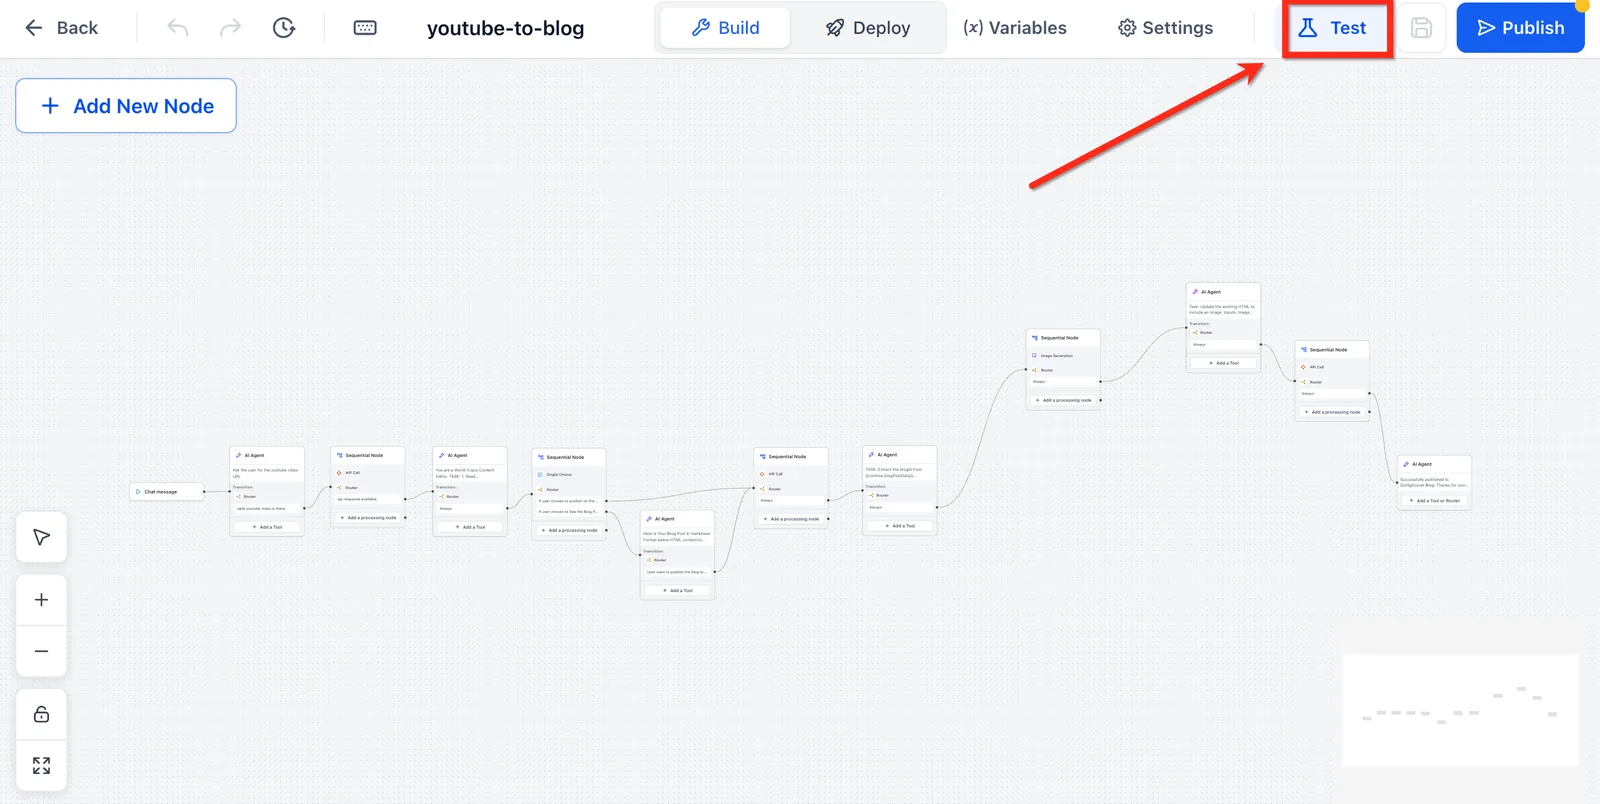
Before turning a workflow on for real contacts, go to the workflow settings and use the test mode. GoHighLevel lets you simulate the run on a test contact so you can see which steps fire, what messages are sent, and where it stalls.
- Create a test contact with the trigger criteria (e.g. a fake form submission).
- Watch the run log and verify every action completed.
- Check that emails/SMS actually deliver to your test inbox.
- Edit the workflow and re-test after any change.
Skipping the test is how operators accidentally send a welcome email that references the wrong client name. Test mode takes five minutes and prevents a support headache.
Step 7: Connect Integrations
Not everything lives inside GoHighLevel. The integrations page connects tools like Stripe, Calendly, Zapier, and Facebook Lead Ads so events from external apps can also trigger workflows. Connect the apps your customers already use, then map the data fields to GoHighLevel custom fields.
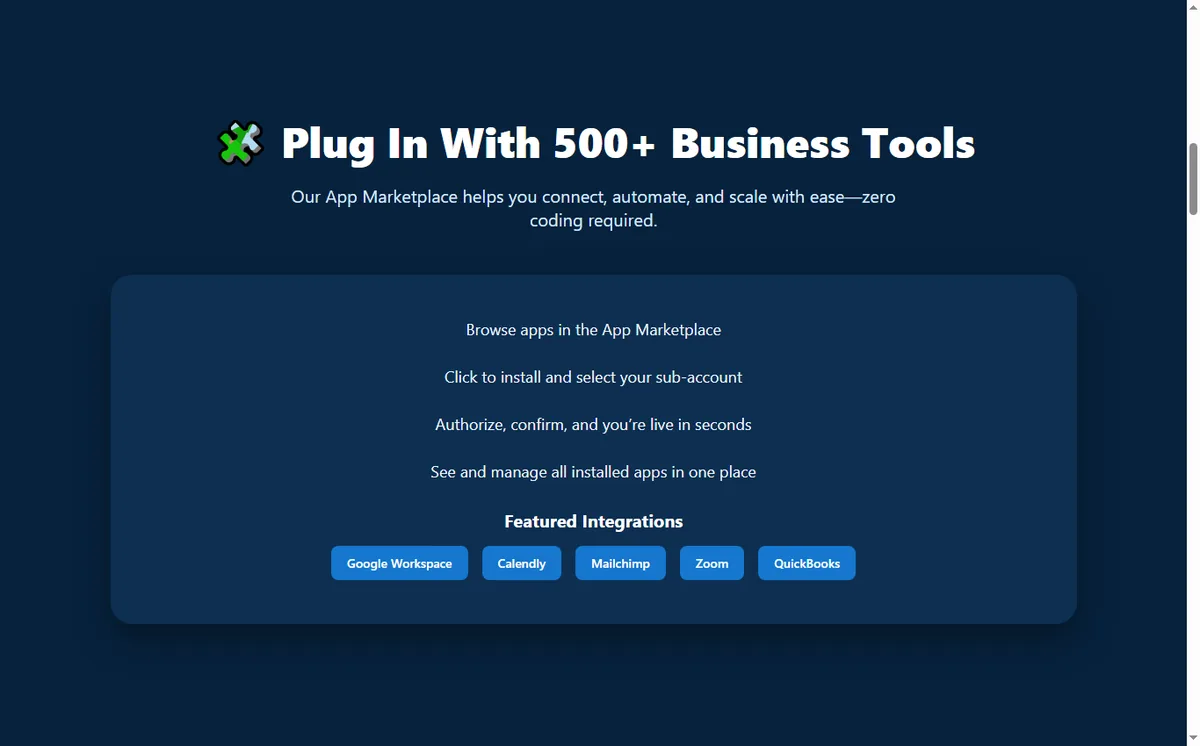
A good integration pattern: Facebook Lead Ads creates a contact, then a workflow sends a follow-up text and adds the lead to a nurturing campaign – all without manual import.
Start from a Template (Faster)
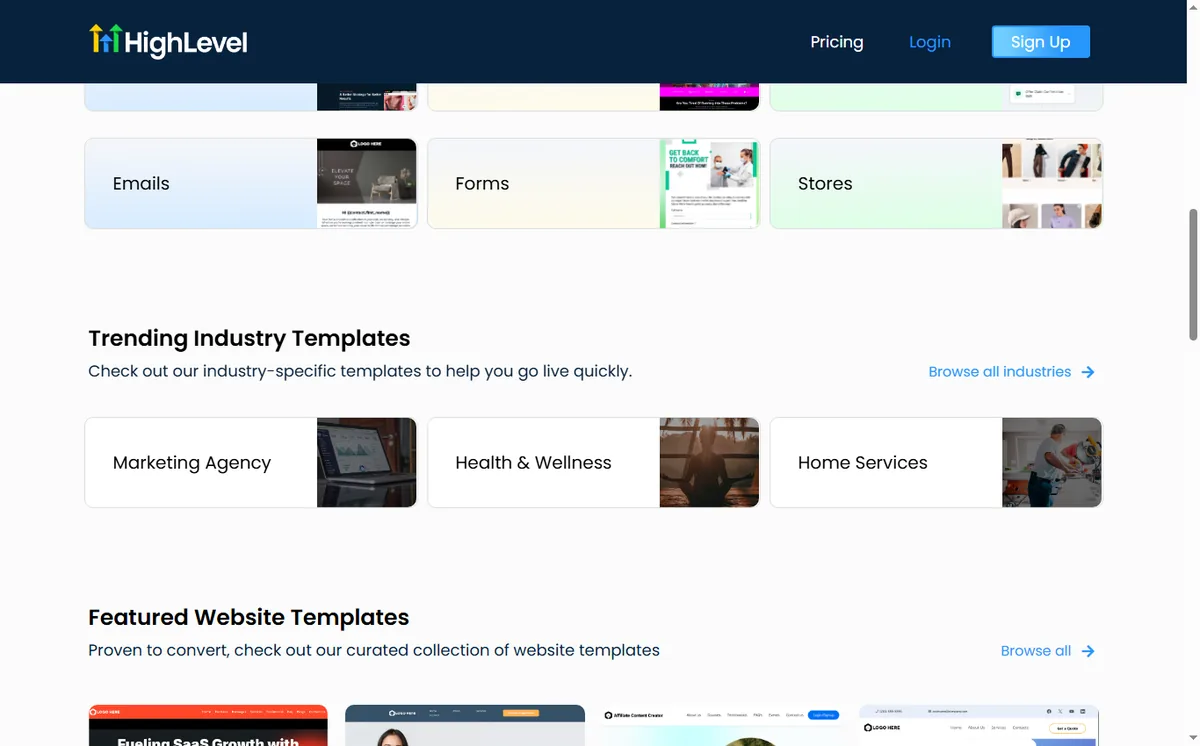
GoHighLevel ships a library of workflow templates for common scenarios: new lead welcome, appointment follow-up, abandoned cart, review request, and more. New users should clone a template, swap in their own messages, and test it. It is dramatically faster than building from scratch and teaches you the structure GoHighLevel recommends.
GoHighLevel Pricing (2026)
Automation is available on all paid plans, but the limits differ. The Starter plan includes basic workflows; the Unlimited plan unlocks the full automation toolkit with unlimited contacts, SMS/email, and AI steps:
| Plan | Monthly Price | What You Get |
|---|---|---|
| Starter | $97/month | 1-3 users, basic funnels/email, limited contacts, workflows |
| Unlimited | $297/month | Unlimited contacts, full workflows, SMS/email, calendar, reviews |
| Agency Pro | $497/month | Unlimited sub-accounts, white label, SaaS mode – for agencies |
For most operators the Unlimited plan is the safe choice because workflow limits disappear, and add-ons like extra phone numbers or reputation management cost extra. A 14-day free trial is available before you commit.
Common Setup Mistakes to Avoid
- No test contact – you will not know if your trigger fires until a real lead triggers it live.
- Delays before first touch – instant response is the biggest conversion lever.
- Too many branches – keep the first version linear, add conditions later.
- Ignoring stop conditions – add a stop when a contact books or replies to avoid double messages.
- No naming convention – name workflows by trigger and purpose so the team can find them.
FAQ
If your leads sit unanswered overnight, build the instant-SMS workflow first and nothing else. If your follow-up already runs but deals stall, add the If/Else branches on replies and appointment status. If you are still mapping the whole customer path before touching the builder, read how to build a funnel, GoHighLevel for home services, and setup for freelancers first, then come back and wire the steps.
Can I send both email and SMS in one workflow? Yes – GoHighLevel allows mixed email and SMS steps inside the same workflow, with separate send settings and wait times.
How do I test an automation without sending to real contacts? Use test mode in the workflow settings to simulate a run on a test contact and review the log before enabling it.
Does automation require the $297 plan? Basic workflows exist on Starter, but the full toolkit – unlimited contacts, SMS/email, AI steps – is on Unlimited ($297/month).
Can I connect GoHighLevel to other apps? Yes – native integrations include Stripe, Calendly, Zapier, Facebook Lead Ads, and many more, with webhooks for custom setups.
Disclaimer: We are an independent review site. Some links in this article are affiliate links, and we may earn a commission at no extra cost to you if you purchase through them. We only recommend tools we test in real client operations.
About the Author

Antonio Vance is B2B SaaS Operations Director & Lead Reviewer (SaaSFlowLab Editorial Team). He has spent 8+ years deploying and auditing enterprise CRM, marketing automation, and email deliverability infrastructures for digital agencies. At SaaSFlowLab, he directs hands-on testing of software stacks in live production environments to deliver uncompromised, field-verified software reviews.